
.jpg)


Fold the fabric 'wrong sides to wrong sides' (meaning that the pretty side of the fabric is inside), and run a straight stitch about 1/2" from the edge all the way down three sides of the rectangle. Your fold might be one of those sides...leaving you only two sides to sew. Make sure to leave the fourth side open so that you can put your hand inside!
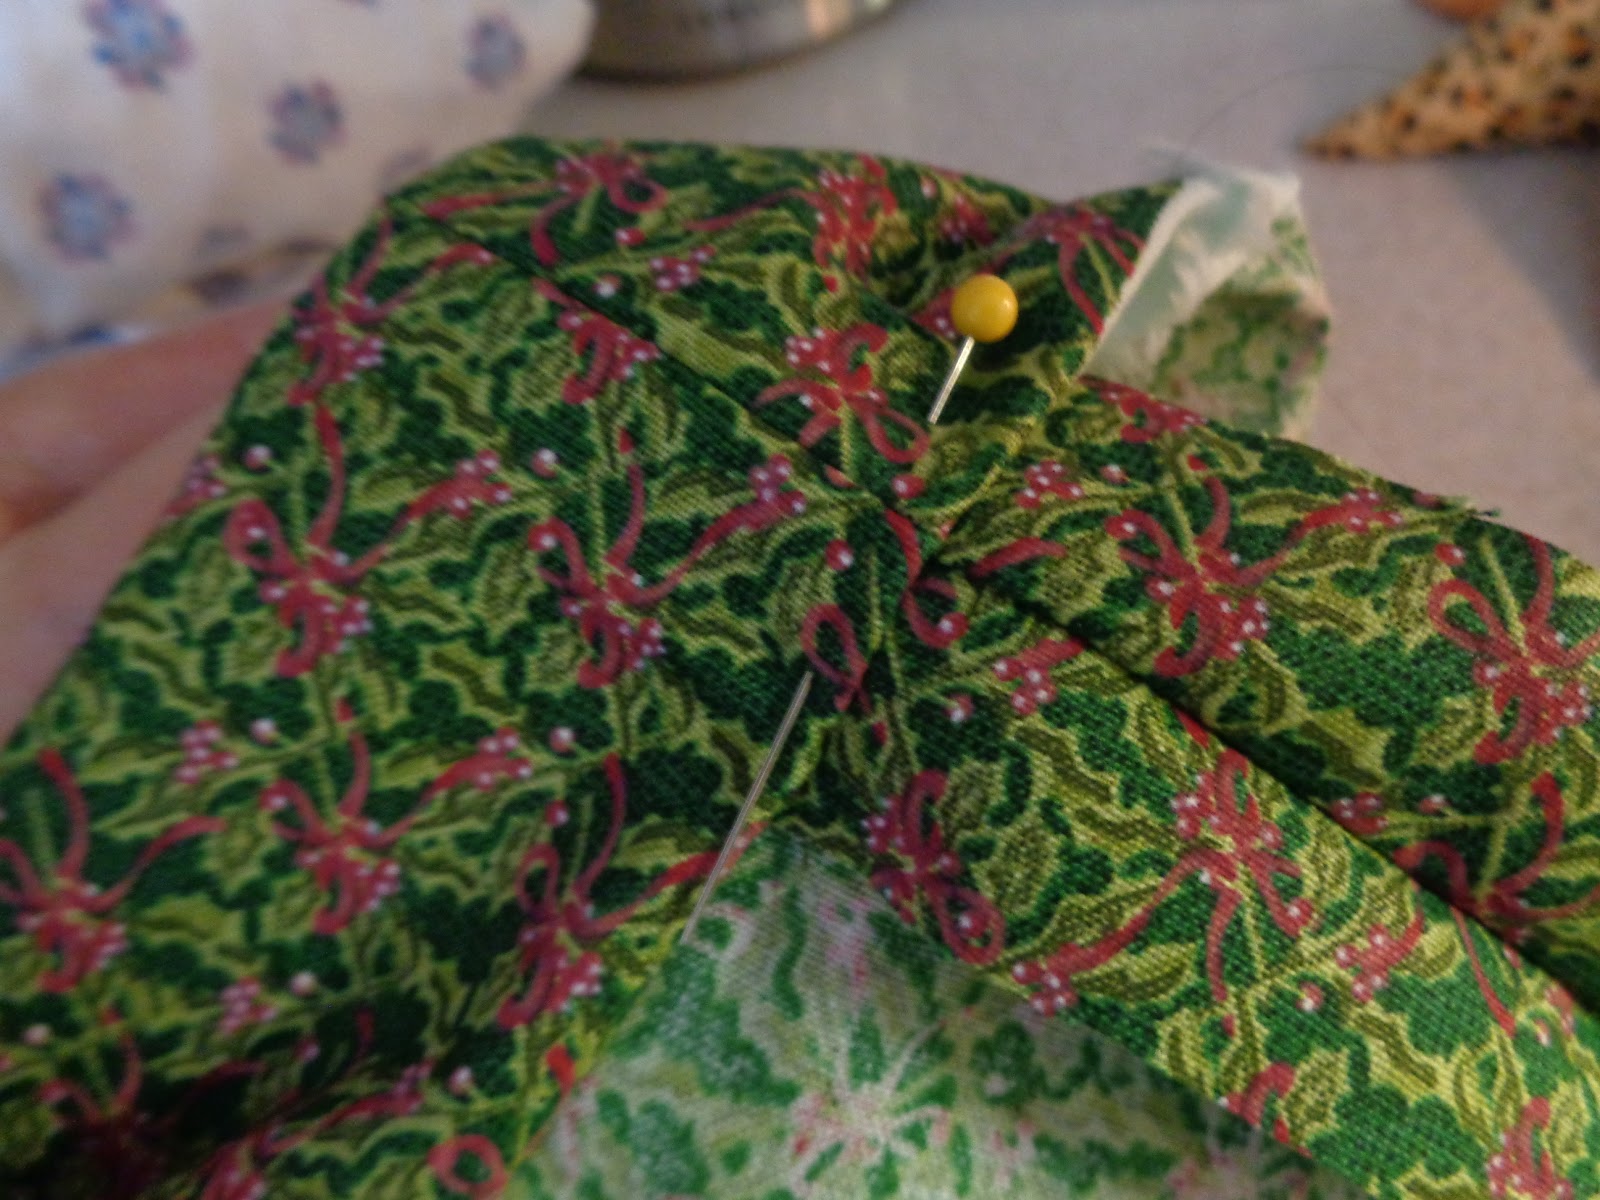

Keeping your fabric wrong-side-out, let's work on that fourth side...the one you left open. Fold down the top of the fabric 1/2", then fold it again 1/2" so that the raw seam is tucked inside against the 'wrong side' of the cloth (you'll have three layers of fabric here). Do this all the way around that fourth side, being sure to pin it down every few inches.


Run a straight stitch around the bottom of that fold (careful not to run over the pins!), leaving a 'pocket' in the fold to run a ribbon or string through. Leave a 1" opening, where you do not sew it shut, for your ribbon. (Alternately, you can sew it completely shut, and then make a small hole later at the top of this pocket.)


Run the string through the opening you left in your pocket at the top of the bag. This is very important....tie it to a paper clip or safety pin! (You want to keep a hold of the string to get it all the way around the opening.) Tie the string, and slide it around so that the knot is hidden - or make it a beautiful, showy tie that you want seen.


Here are the two bags that we made in less than fifteen minutes, ready to roll for a party! They are simple and quick. Above are bags that our family keeps and reuses year after year. The ones made out of old jean legs have been painted and decorated for extra flair. You're only limited by your imagination!!
quick and easy bags that i've made too! :)
ReplyDeleteAlways looking for cute way to wrap gifts. Thank you
ReplyDelete