
.jpg)

Lighthouses are such a beacon of hope! They're also one of our favorite places to visit at the Outer Banks, because they offer up so much history but with a fantastic view of the area. In this trip, we visited Cape Hatteras, Bodie Island, Currituck, and Chicamicomico. One day we're going to take the ferry over to Okracoke...
One of our favorite read-aloud books here is Teetoncey...we think you'll like it, too!
During our stay at the Outer Banks, we coasted (like the pun?) down Highway 12, through hurricane floodwaters, to Hatteras Island. Our mission? Visit one of the most iconic symbols of the eastern seaboard....the Hatteras Lighthouse.
The poor park rangers had to evacuate their home when it flooded! You can see the hose emptying it out. And since there were no park rangers on site, the museum and the lighthouse itself were both closed. It was a bit of a bummer to drive so far and be denied access, but we still enjoyed visiting this iconic landmark!


Bodie Island Lighthouse *Sounds like body.*
Tucked away between tall pine trees and freshwater marshland, the Bodie Island Lighthouse remains an important part of local Civil War history. Through all three re-buildings, it has kept a silent watch over the "Graveyards of the Atlantic."
The boys weren't quite sure what to make of it when we arrived. They knew that it looked familiar, but couldn't place it until we went inside and saw a "Lighthouses of North Carolina" poster on the wall; the same one that they have in their bedroom.


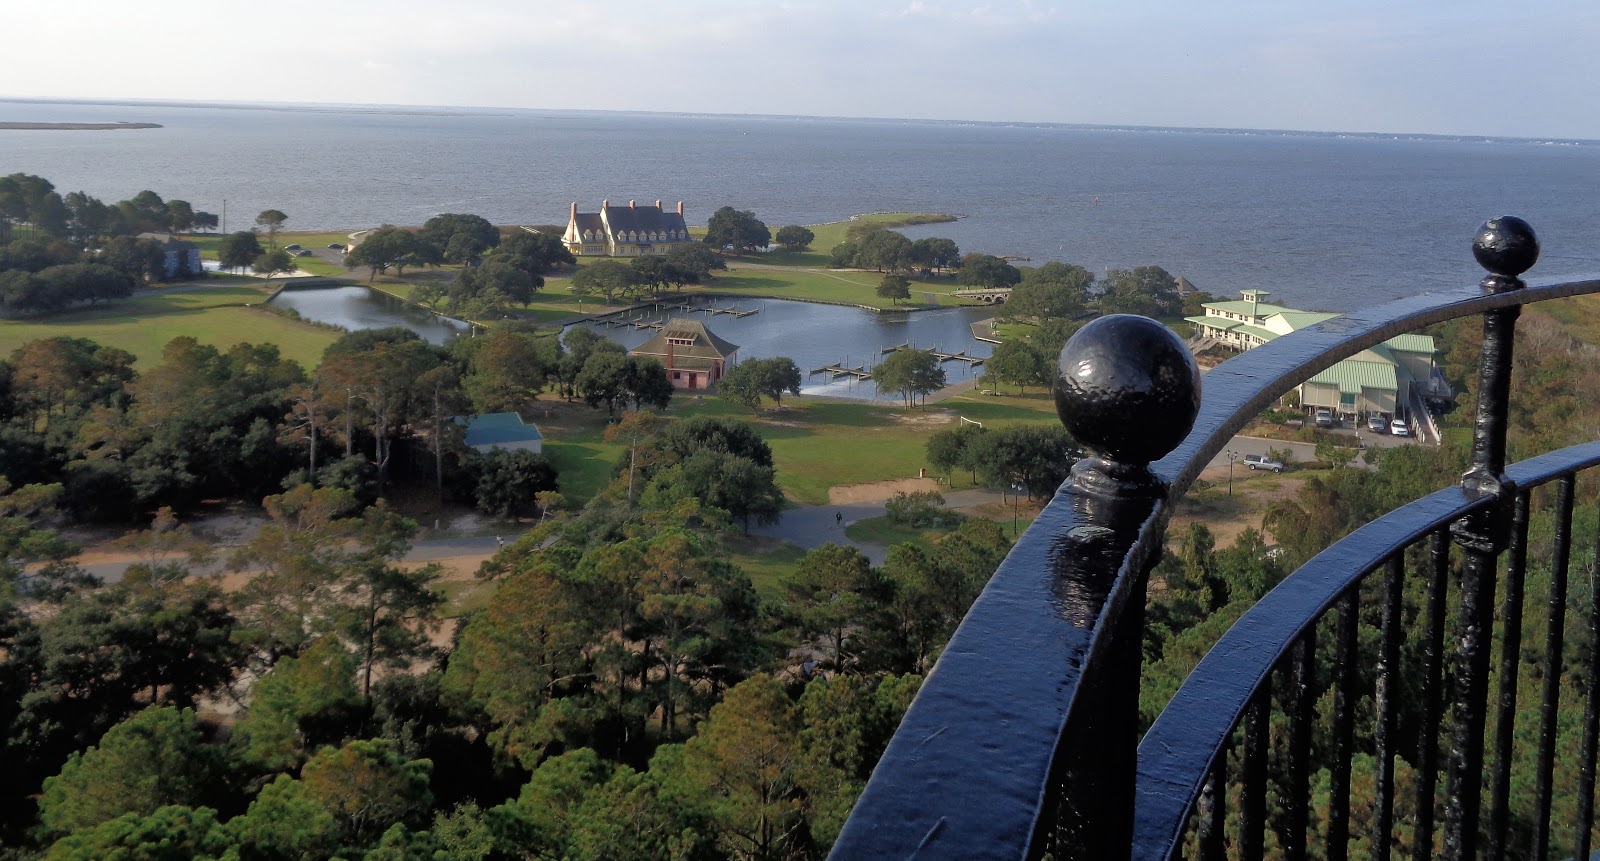
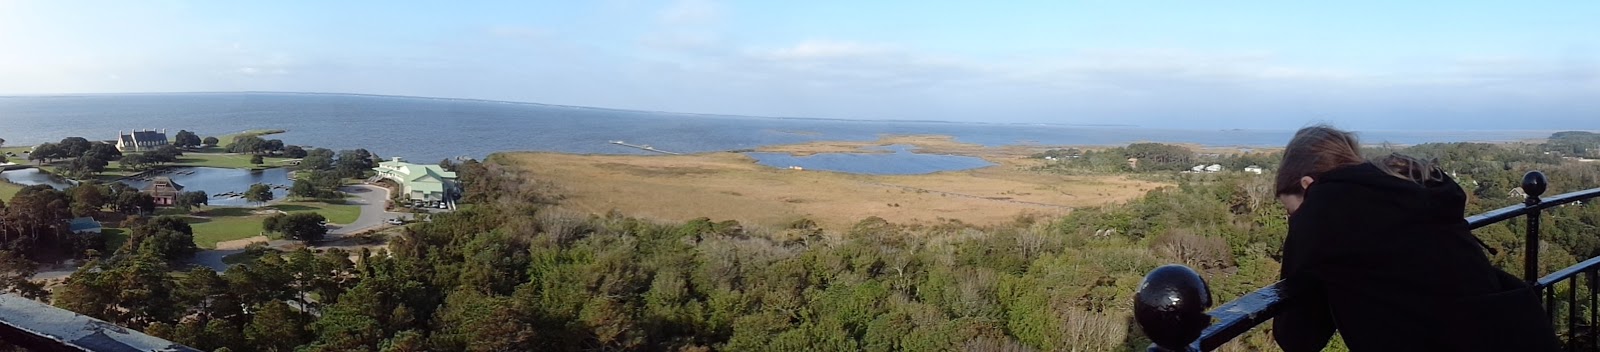
We climbed the nine stories (ten?) and looked out over the marshes, coastal waterway, and Atlantic. It was a gorgeous, Carolina-blue-sky day! It was also very windy, which made picture-taking fun. One lady lost her camera, when it blew out of her hands!


Heading back down, you can see how simplistically-beautiful the spiral staircase is. You can see that the boys were afraid that I had decided to set up camp by the light, and never come down!


Currituck Lighthouse
One cool thing about Currituck Lighthouse is the sheer amount of history they have in the rooms downstairs. We learned about lifesaving, the banks back in the day, and the history of the various lighthouse keepers and their families.


It was late in the day when we got here and hiked to the top. The stairs were a little dark, but outside it was a beautiful day!


Chicamicomico Lightsaving Station
It's not really a stretch to include Chicamicomico in with lighthouses. After all, they're one of the oldest lifesaving stations on the banks. When ships can't see or don't heed the lighthouses, it's the surfmen who are called into action...
We checked out the house first, where the keepers stayed. The vintage kitchen was a delight! Out back was the lifesaving station itself. The men trained here daily, keeping meticulous records and always ready to put other lives ahead of their own if called upon. One of the most famous family names in this area is Midgett....and this is Little Midgett the Third. Can you just imagine if your mami named you Little Midgett today?


When the U.S. Coast Guard was created in 1915, Chicamacomico became a U.S. Coast Guard facility. Under Coast Guard control, it remained active until 1954. The station is perhaps best remembered for the 1918 rescue of the British tanker Mirlo after it struck a German mine offshore during World War I.
Forty-two crew members of the Mirlo were saved from the burning tanker by Keeper John Allen Midgett Jr. and his crew. Lifesaving members were granted the Grand Cross of the American Cross of Honor. To date, only eleven Grand Cross of the American Cross of Honor awards have been bestowed in the history of the United States with six being bestowed upon the members of Chicamicomico.

Writing Prompts
- You are commissioned to design a new lighthouse. Describe the design, including the daymark, height, signal, location, and other details.
- Before electricity, lighthouse keepers lived on the premises and kept the lights burning. Write about your life as a lighthouse keeper in the 18th century.
- Why was the Fresnel lens such an innovation? What did it do better than previous lenses?
- Choose a lighthouse, and write a story from ITS point of view. The story can be set in present day or a historical era. What did it see and hear?

- Keep the Lights Burning, Abbie
- Lighthouse Dog to the Rescue
- The Lighthouse Mystery (Boxcar Children)
- Lighthouses for Kids
- The Sea Chest
- The Little Red Lighthouse & Great Gray Bridge
- Lighthouse Library Mystery (for mom)
Science & Geography
- Anatomy of a Lighthouse
- How Lighthouses Work
- Outer Banks Lighthouses
- Live Web Cam - York, ME Lighthouse
Build a Lighthouse
 Supplies: (per child)
- paper plate,
- 16 oz or larger Styrofoam cup,
- 1 inch toilet paper roll piece,
- construction paper,
- scissors, toothpick,
- wooden bead or pony bead,
- glue (foam or tacky glue works best),
- scotch tape,
- regular markers, & permanent markers
Assembly:
- You can start by coloring your island with waves breaking over the shore and rocks and trees around the island. If a number of children are making the lighthouse and you want to identify the builders, put their name on the other side and set it aside.
- Using the bottom of your “tower”, draw a circle on a piece of construction paper for the Dome [Note: you should use the same color paper you plan to color your lantern room]; cut the circle out and set it aside.
- Now you decorate the tower. Using the permanent marker (fine point works best) draw the door and windows. At this time you can color your tower with stripes or other patterns to display your daymark (see examples below).
- Glue your tower to the island and set it aside. [Note: If you are making a large number of lighthouses for a group of children, it is recommended that you pour some white glue into a small plastic container that the bottom of the tower fits; dip tower lightly into the glue and place it on the island.]
- Next prepare the lantern room. Cut 2” piece of paper roll and cut a 5 ½” x 1” piece of yellow construction paper to make your storm window. Using the permanent marker, make a border along the long edges and, if you choose, down the center of the strip. Tape one end of the strip at the top of the lantern room, wrap it around, and tape the other end. Draw in the astragals (metal frame running vertically or diagonally that divides the lantern room glass into sections) with the permanent marker.
- Color your lantern room below the window strip. Using the circle cut earlier for the dome cut a slit to the center and slide one edge over the other to form a peaked cap; tape it together.
- Glue the lantern room to the top of the tower and the dome on top. [Note: If making a large number, use the white glue in a plastic container, and dip both ends of the lantern room, place on tower, and attach dome.]
- Now take the vent ball and carefully put some glue into the hole [Fast drying glue works best], about ½ full, set it on the peak of the dome, and stick the lightning rod (a 1” piece of toothpick, sharp end up) into the glue in the ball.

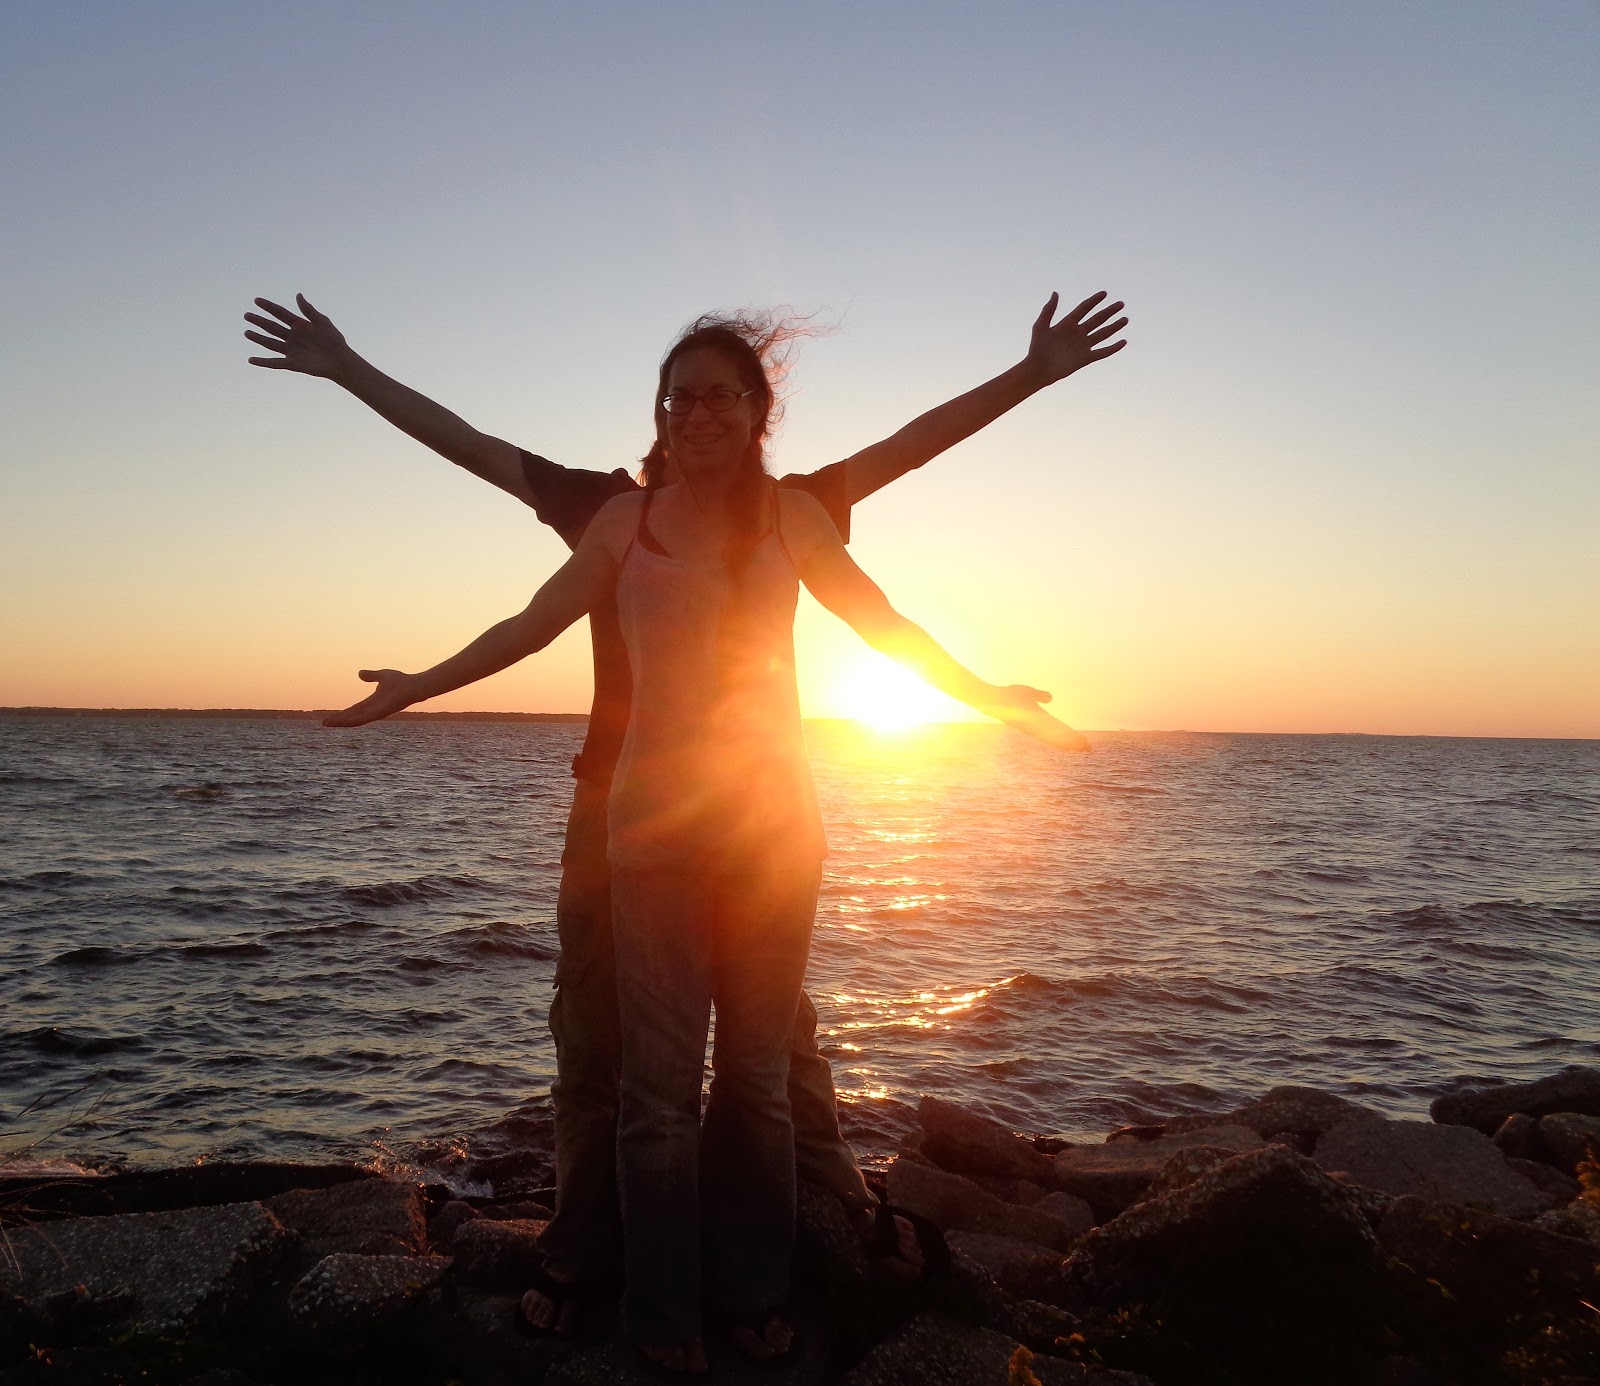
Visiting lighthouses is one of our joys, as it means we're usually at the Outer Banks. When our family had to stop traveling as much, know we wouldn't be here as often brought us sadness. However, we treasured that last trip and took as many memories as possible!


I do not see the Everyday Explorers: North Carolina Unit Study Bundle on the Subscriber Freebies page. Has it been taken down? Thank you for your help!
ReplyDeleteGreat question! It's under Everyday Explorers (sample unit), under Social Studies. :)
Delete