If your teen boys are anything like mine, they have developed this 'chronically underwhelmed' facade --- it's just not cool to be excited about things anymore. So how can you win "Mom of the Year" with field trips?
On our last longer roadschool trip, I set out to do this very thing. At one time, when we were constantly travelling, and the boys were younger, every day was an adventure! I miss those days, when they were excited to see what we were doing and learning about, and I was hoping to recapture that joy, even if only temporarily.

Malt is often referred to as "the soul of beer" and dates back over 4,000 years. Malt is one of four essential ingredients used in producing craft beer. It is malt that provides color, aroma, flavor, and body to every ale and lager, and can set each beer apart. The process of malting involves three main steps. The first is soaking the barley - also known as steeping - to awaken the dormant grain. Next, the grain is allowed to germinate and sprout. Finally, heating or kilning the barley produces its final color and flavor.
And before anyone wants to jump on this....no, I didn't take the kids out drinking, or even sampling beer. We only learned about the science behind creating it.
 Step 1: Steeping
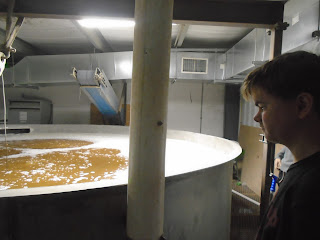
The first and most critical step in creating quality malt is steeping. This is when the grain kernel is cleaned, which is done by immersing or “steeping” the grain in water, followed by an air rest period that allows the water content of the grain to increase. The absorbed water activates naturally existing enzymes and stimulates the grain to develop new enzymes. The steeping process typically occurs over a period of 24-48 hours, and is complete when the barley has reached a sufficient moisture level to allow a uniform breakdown of starches and proteins.
Step 2: Germinating
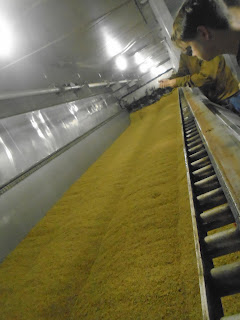
In the second step, growth and modification of the grain occurs. From the outside of the grain, rootlets emerge from the kernel, and within the outer husk a shoot grows. To achieve a high quality and consistent germination process, the maltster controls temperature and moisture levels with regulated airflow and uniform water spray. Even with modern equipment and this structured approach, the degree of modification is still gauged by eyes, sense of smell, and with hands. Malting truly is part art and part science.
Step 3 Kilning
The third and final step in the malting process is kilning. Convection heat treatment dries the green malt to prevent further germination. If germination continues, the kernel would keep growing and all of the starch reserves needed by the brewer would be used by the growing plant. For most malts, moisture is initially removed from the germinated grain, and additional drying further reduces the moisture content and prepares the malt for flavor and color development. It is the controlled variations in this step that produces the wide range of malt colors and flavors used by brewers in crafting their unique and distinctive ales and lagers.
Once the malting process is complete, the malt is transported to a silo where it is stored for cleaning. The cleaning process removes unwanted rootlets, husk, and dust from the malted barley, and the cleaned malt is bagged for packaging and shipment to brewing customers.


No comments:
Post a Comment
Note: Only a member of this blog may post a comment.